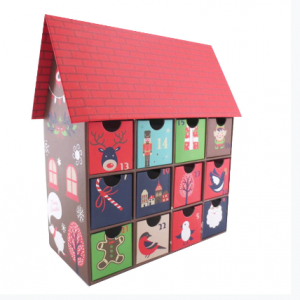
How To Fill An Advent Calendar – 5 Best Advent Calendar Filler Ideas 2023
An Advent calendar box can be filled with a variety of items to create a sense of anticipation and excitement as each day of December is counted down. The contents you choose to fill the Advent calendar with can vary based on your preferences, the recipient’s age, interests, and the overall theme you’re aiming for.
Best Advent Calendar Filler Ideas 2023
Advent calendars traditionally contain a series of small items or treats, typically one for each day of the Advent season leading up to Christmas. The Advent season usually starts on December 1st and ends on December 24th. The purpose of an Advent calendar is to count down the days until Christmas and build anticipation for the holiday. Here are some best ideas for filling an Advent calendar box:
1. Chocolates and Candies
Small chocolates, candies, or other sweet treats are classic choices for Advent calendars. You can select a variety of flavors and types to add a touch of delight to each day.
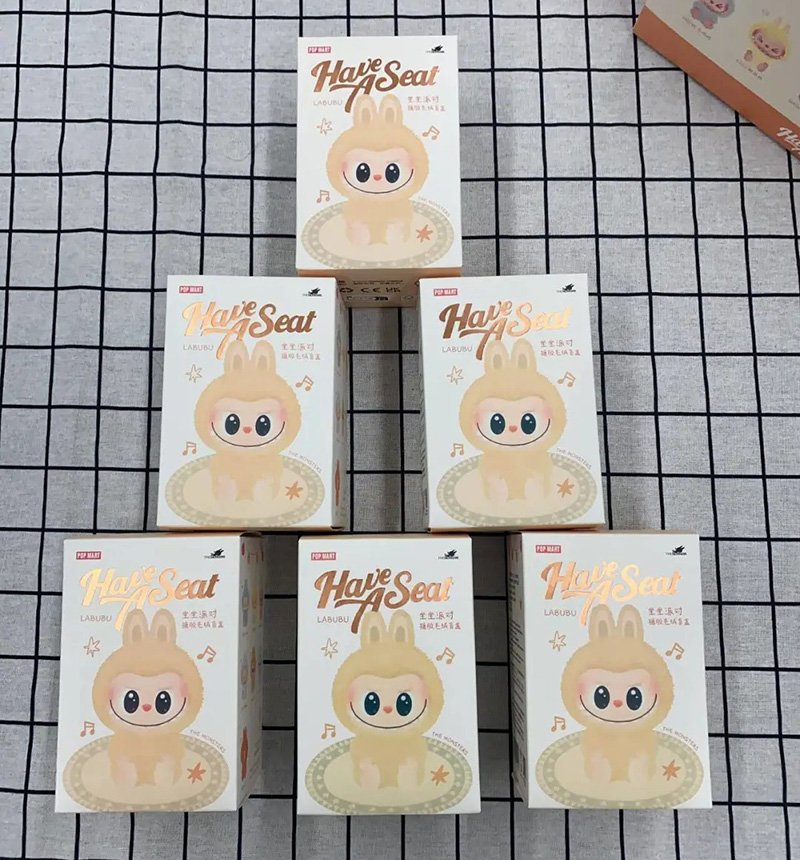
2. Small Toys
For children, consider filling the calendar with small toys, figurines, or novelty items. These can range from action figures and mini puzzles to building blocks and toy cars.
3. Miniature Stationery
Items like mini notebooks, pencils, erasers, stickers, and other stationery supplies can make for a fun and practical Advent calendar fillers, especially for school-age children.
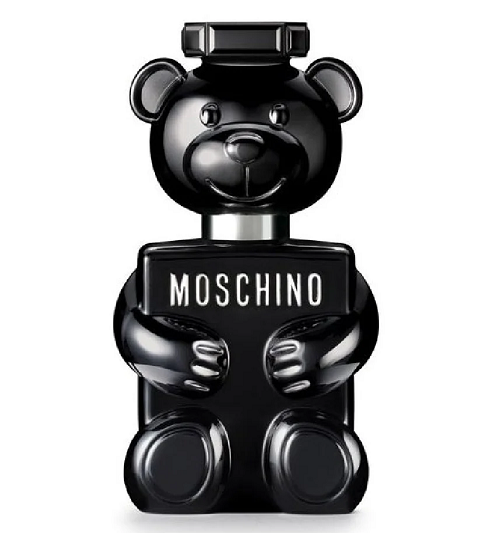
4. Beauty and Skincare Samples
If the Advent calendar is for an older audience, consider including small beauty and skincare products such as mini lotions, lip balms, nail polishes, or sample-sized cosmetics.
5. Holiday-Themed Items
Embrace the holiday spirit by including items like holiday-themed ornaments, keychains, or decorations that recipients can hang up or use to enhance their space.
6. Quotes or Affirmations
Each day can contain a motivational quote, inspiring message, or affirmation to start the day on a positive note.
7. Craft Supplies
If the recipient enjoys crafting, include small craft supplies like beads, ribbons, buttons, or mini art materials to encourage creativity.
8. Tea Bags or Hot Cocoa Packets
Fill each day with a different tea bag or hot cocoa packet, providing a warm and cozy treat as the winter days progress.
9. Puzzle Pieces
If you’re planning to reveal a larger puzzle or image, you can distribute pieces across the days of the Advent calendar.
10. Family Activities
Incorporate small family activities or traditions, such as watching a holiday movie, baking cookies, or doing a fun holiday-themed craft together.
11. Coins or Small Bills
For a unique twist, include small denominations of coins or bills for a financial surprise.
12. Mini Books
Consider including mini books, short stories, or poems for each day, allowing the recipient to enjoy a new literary delight each morning.
13. Personal Notes
Write personalized notes or messages for each day, sharing thoughts, memories, or reasons why you appreciate the recipient.
How Do You Fill A DIY Advent Calendar?
Filling out a DIY Advent calendar allows for creativity and personalization. Here’s a step-by-step guide to help you effectively fill your DIY Advent calendar with delightful surprises:
Step 1: Choose Your Calendar Design: Decide on the type of DIY Advent calendar you’re creating. It could be a traditional paper calendar, a set of hanging pouches, small boxes, envelopes, or any other creative design you prefer.
Step 2: Decide on Filling Themes: Consider whether you want to follow a specific theme, such as sweets, activities, quotes, or small gifts. This will help you organize and plan the contents accordingly.
Step 3: Select Filling Items: Choose items that align with your chosen theme and the interests of the recipient. Some common filling options include chocolates, candies, small toys, beauty products, stationery, activity cards, inspirational messages, and more.
Step 4: Gather Supplies: Collect all the items you’ll need, such as the Advent calendar components, fillers, ribbons, labels, and any decorative elements you plan to add.
Step 5: Plan the Calendar: Assign specific items to each day of the calendar. If you have a theme, plan how to distribute the items across the days to create a balanced and engaging experience.
Step 6: Prepare the Contents: Wrap or package the individual items if needed. This can add an extra layer of excitement to the opening process. For example, you can use wrapping paper, small gift bags, or tissue paper.
Step 7: Add Personal Touches: Consider adding personal notes, messages, or customized labels to some of the days. These can be heartfelt messages, holiday wishes, or clues for activities.
Step 8: Assemble the Calendar: Place the items in the designated compartments of your DIY Advent calendar. Ensure they are securely positioned, especially if the calendar will be hanging or displayed upright.
Step 9: Decorate the Calendar: Add decorative touches to your calendar. You can include ribbons, bows, stickers, and other embellishments that match your chosen theme or design.
Top 10 Creative Cosmetic Packaging Design Ideas & illustrations 2023 | Luxury-Paper-Box.Com

10 Customs Of The Spring Festival (Lunar New Year) You Need To Know

Top 10 Best Lattafa Perfumes for Women & Men in 2024
Top 10 Best Packaging Design Software 2023 (Free & Paid)
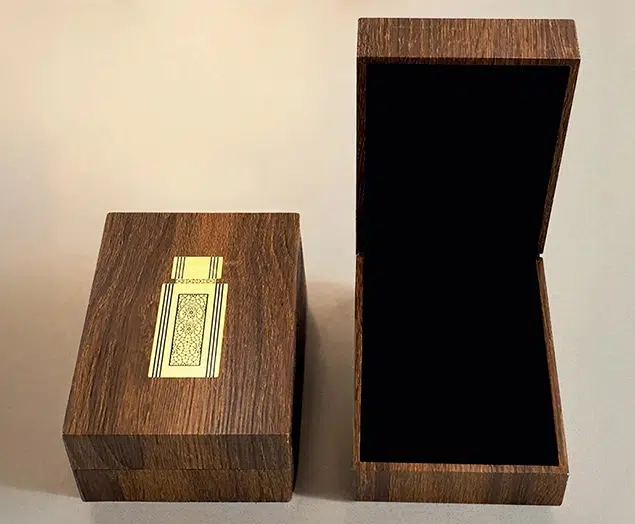
Why Choose MDF Boxes Over Wooden Boxes?


 kali@luxury-paper-box.com
